Air Intake Control PCB

Problem Statement

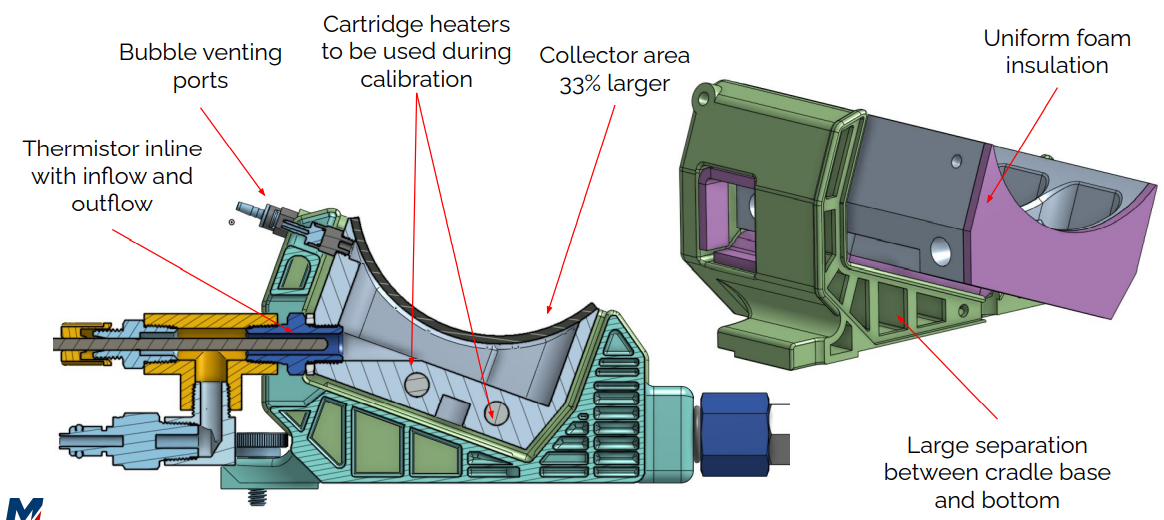
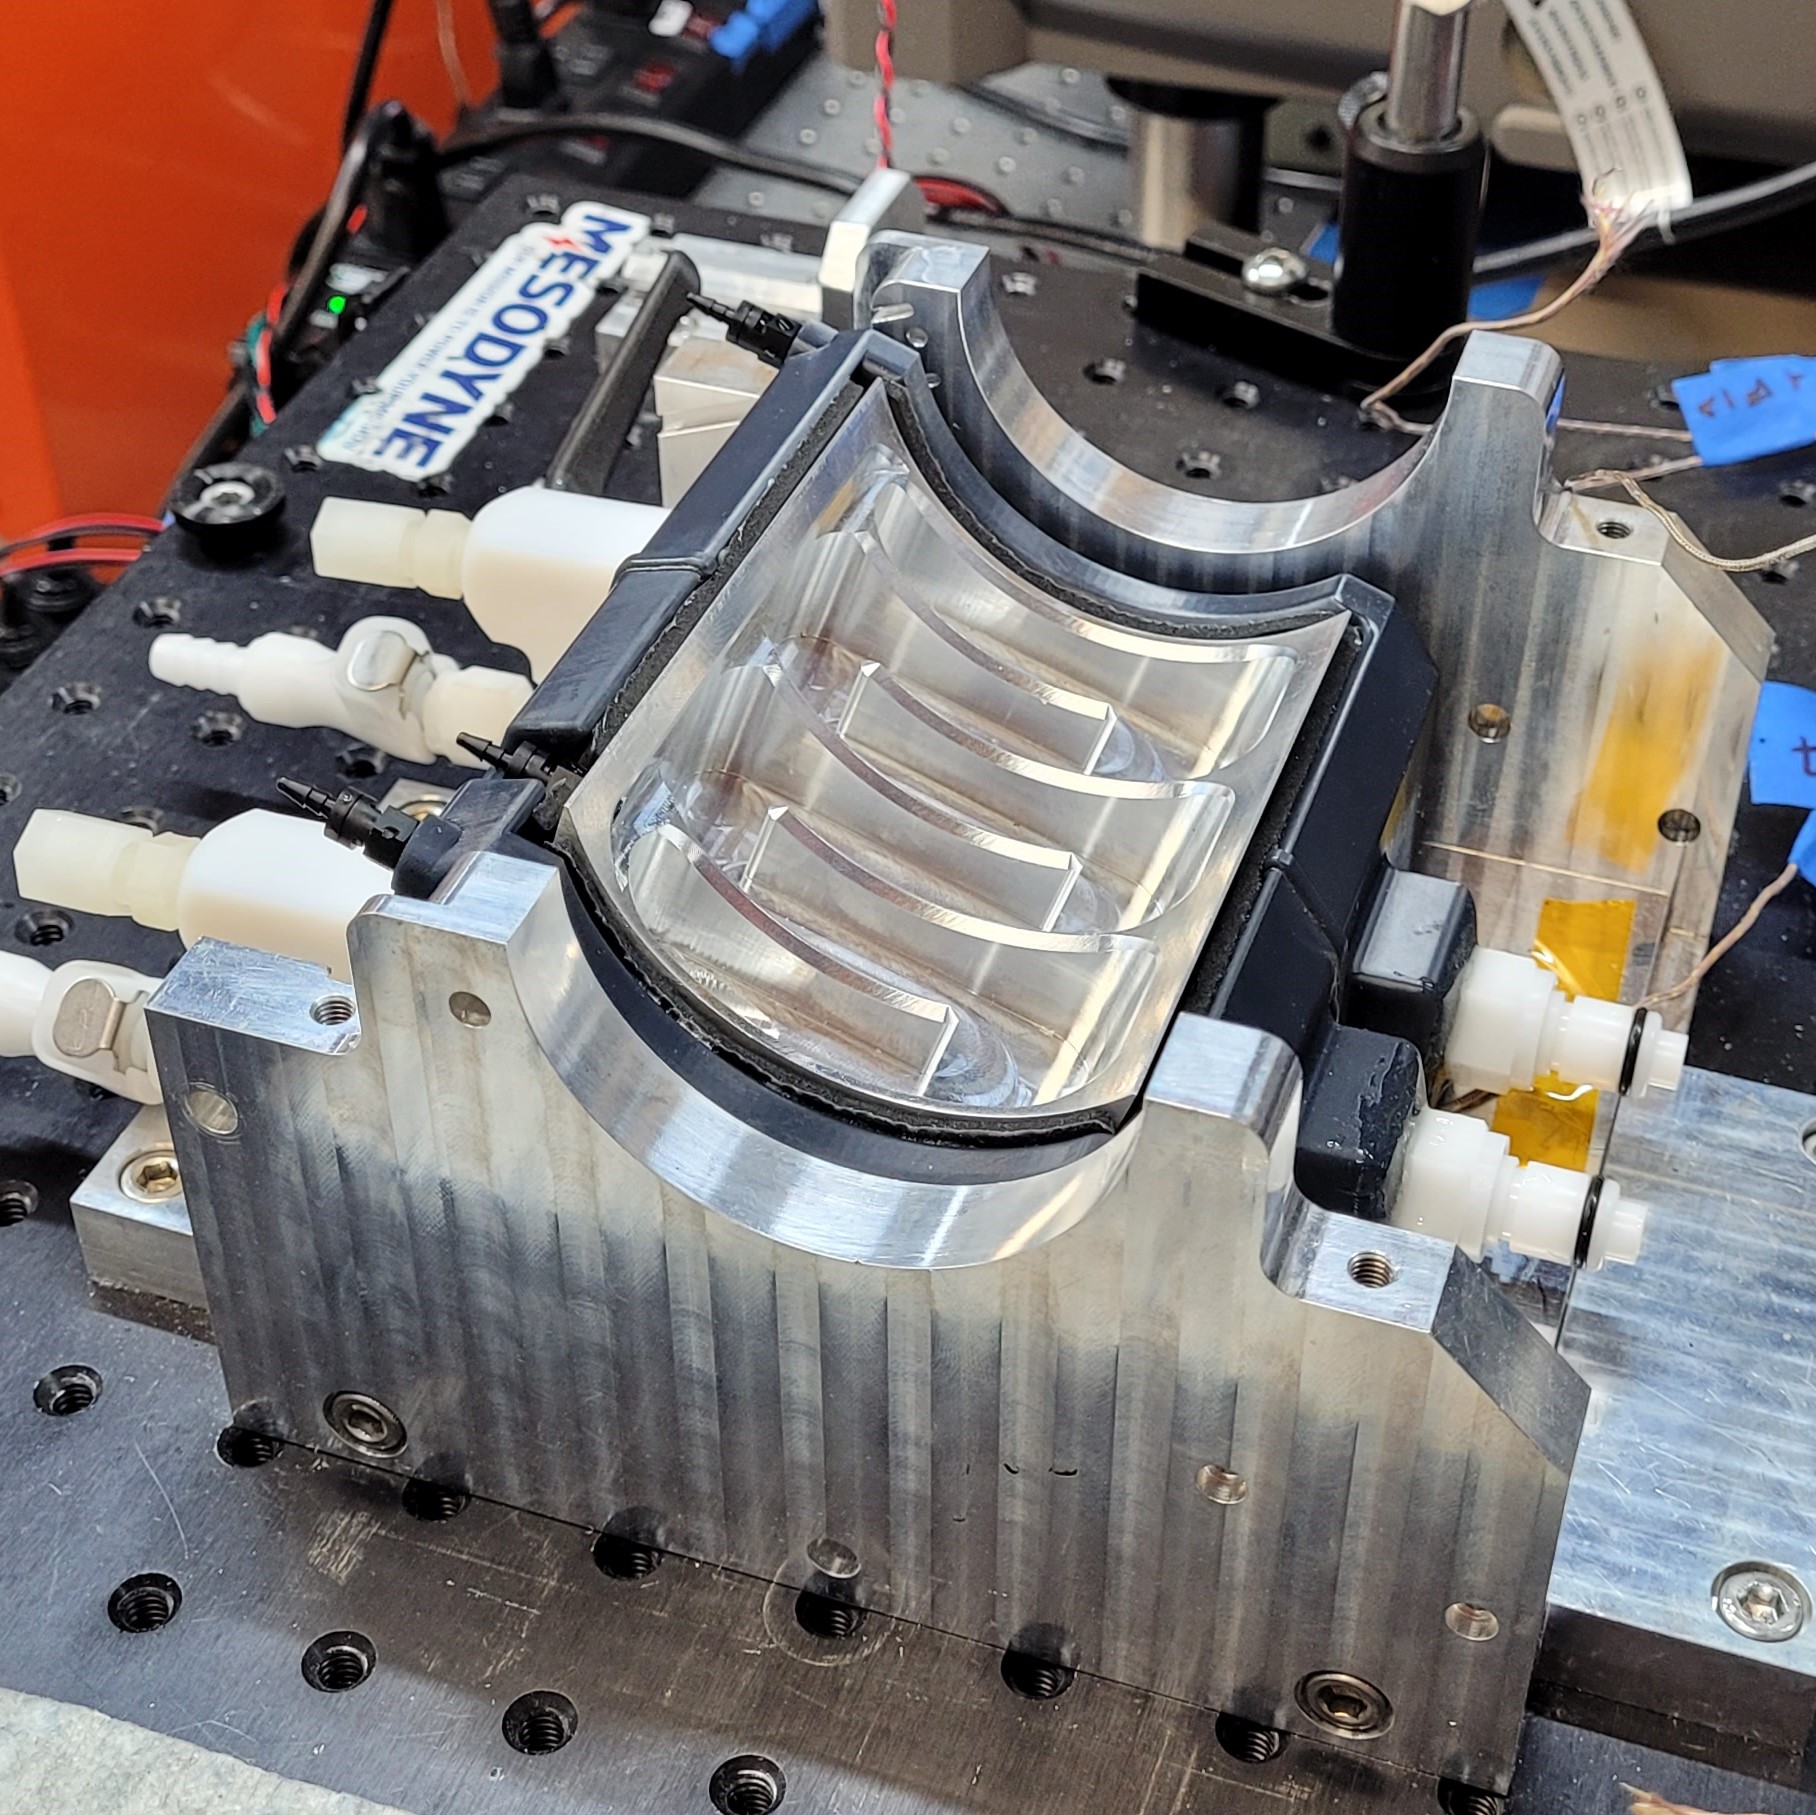
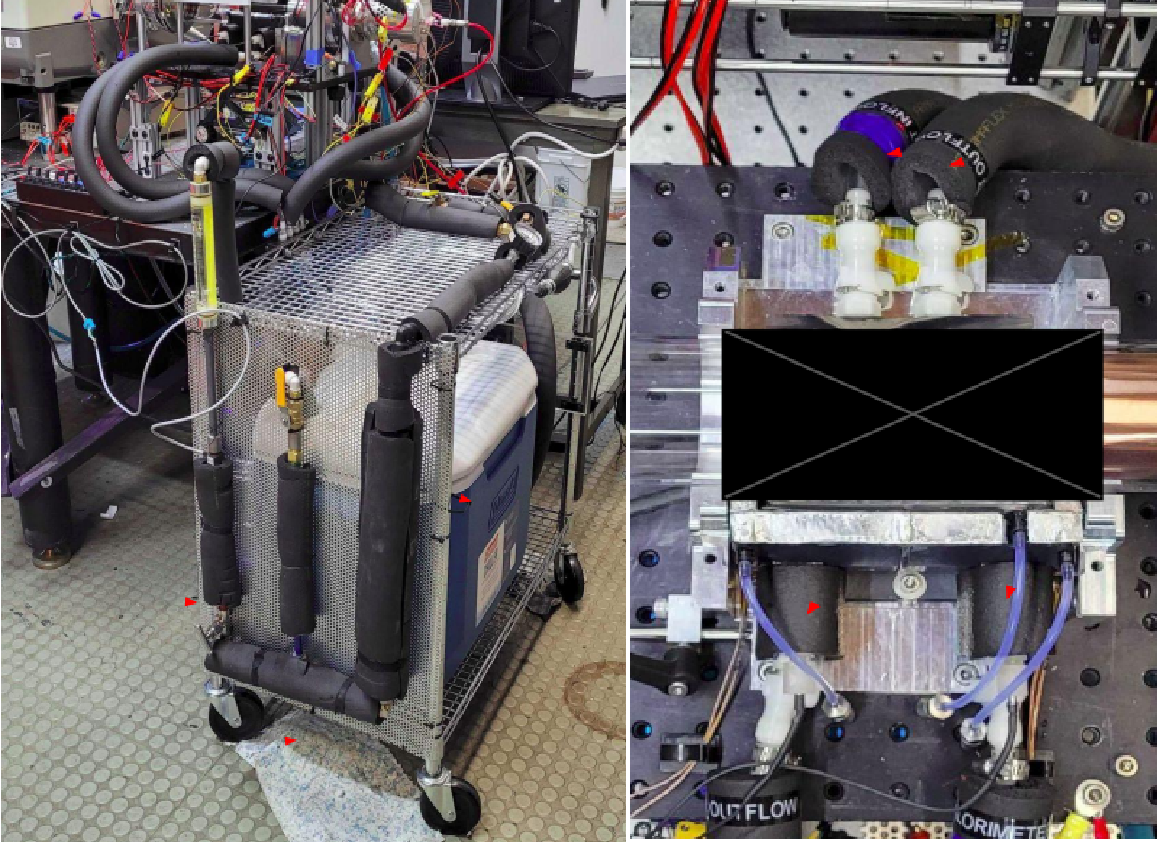
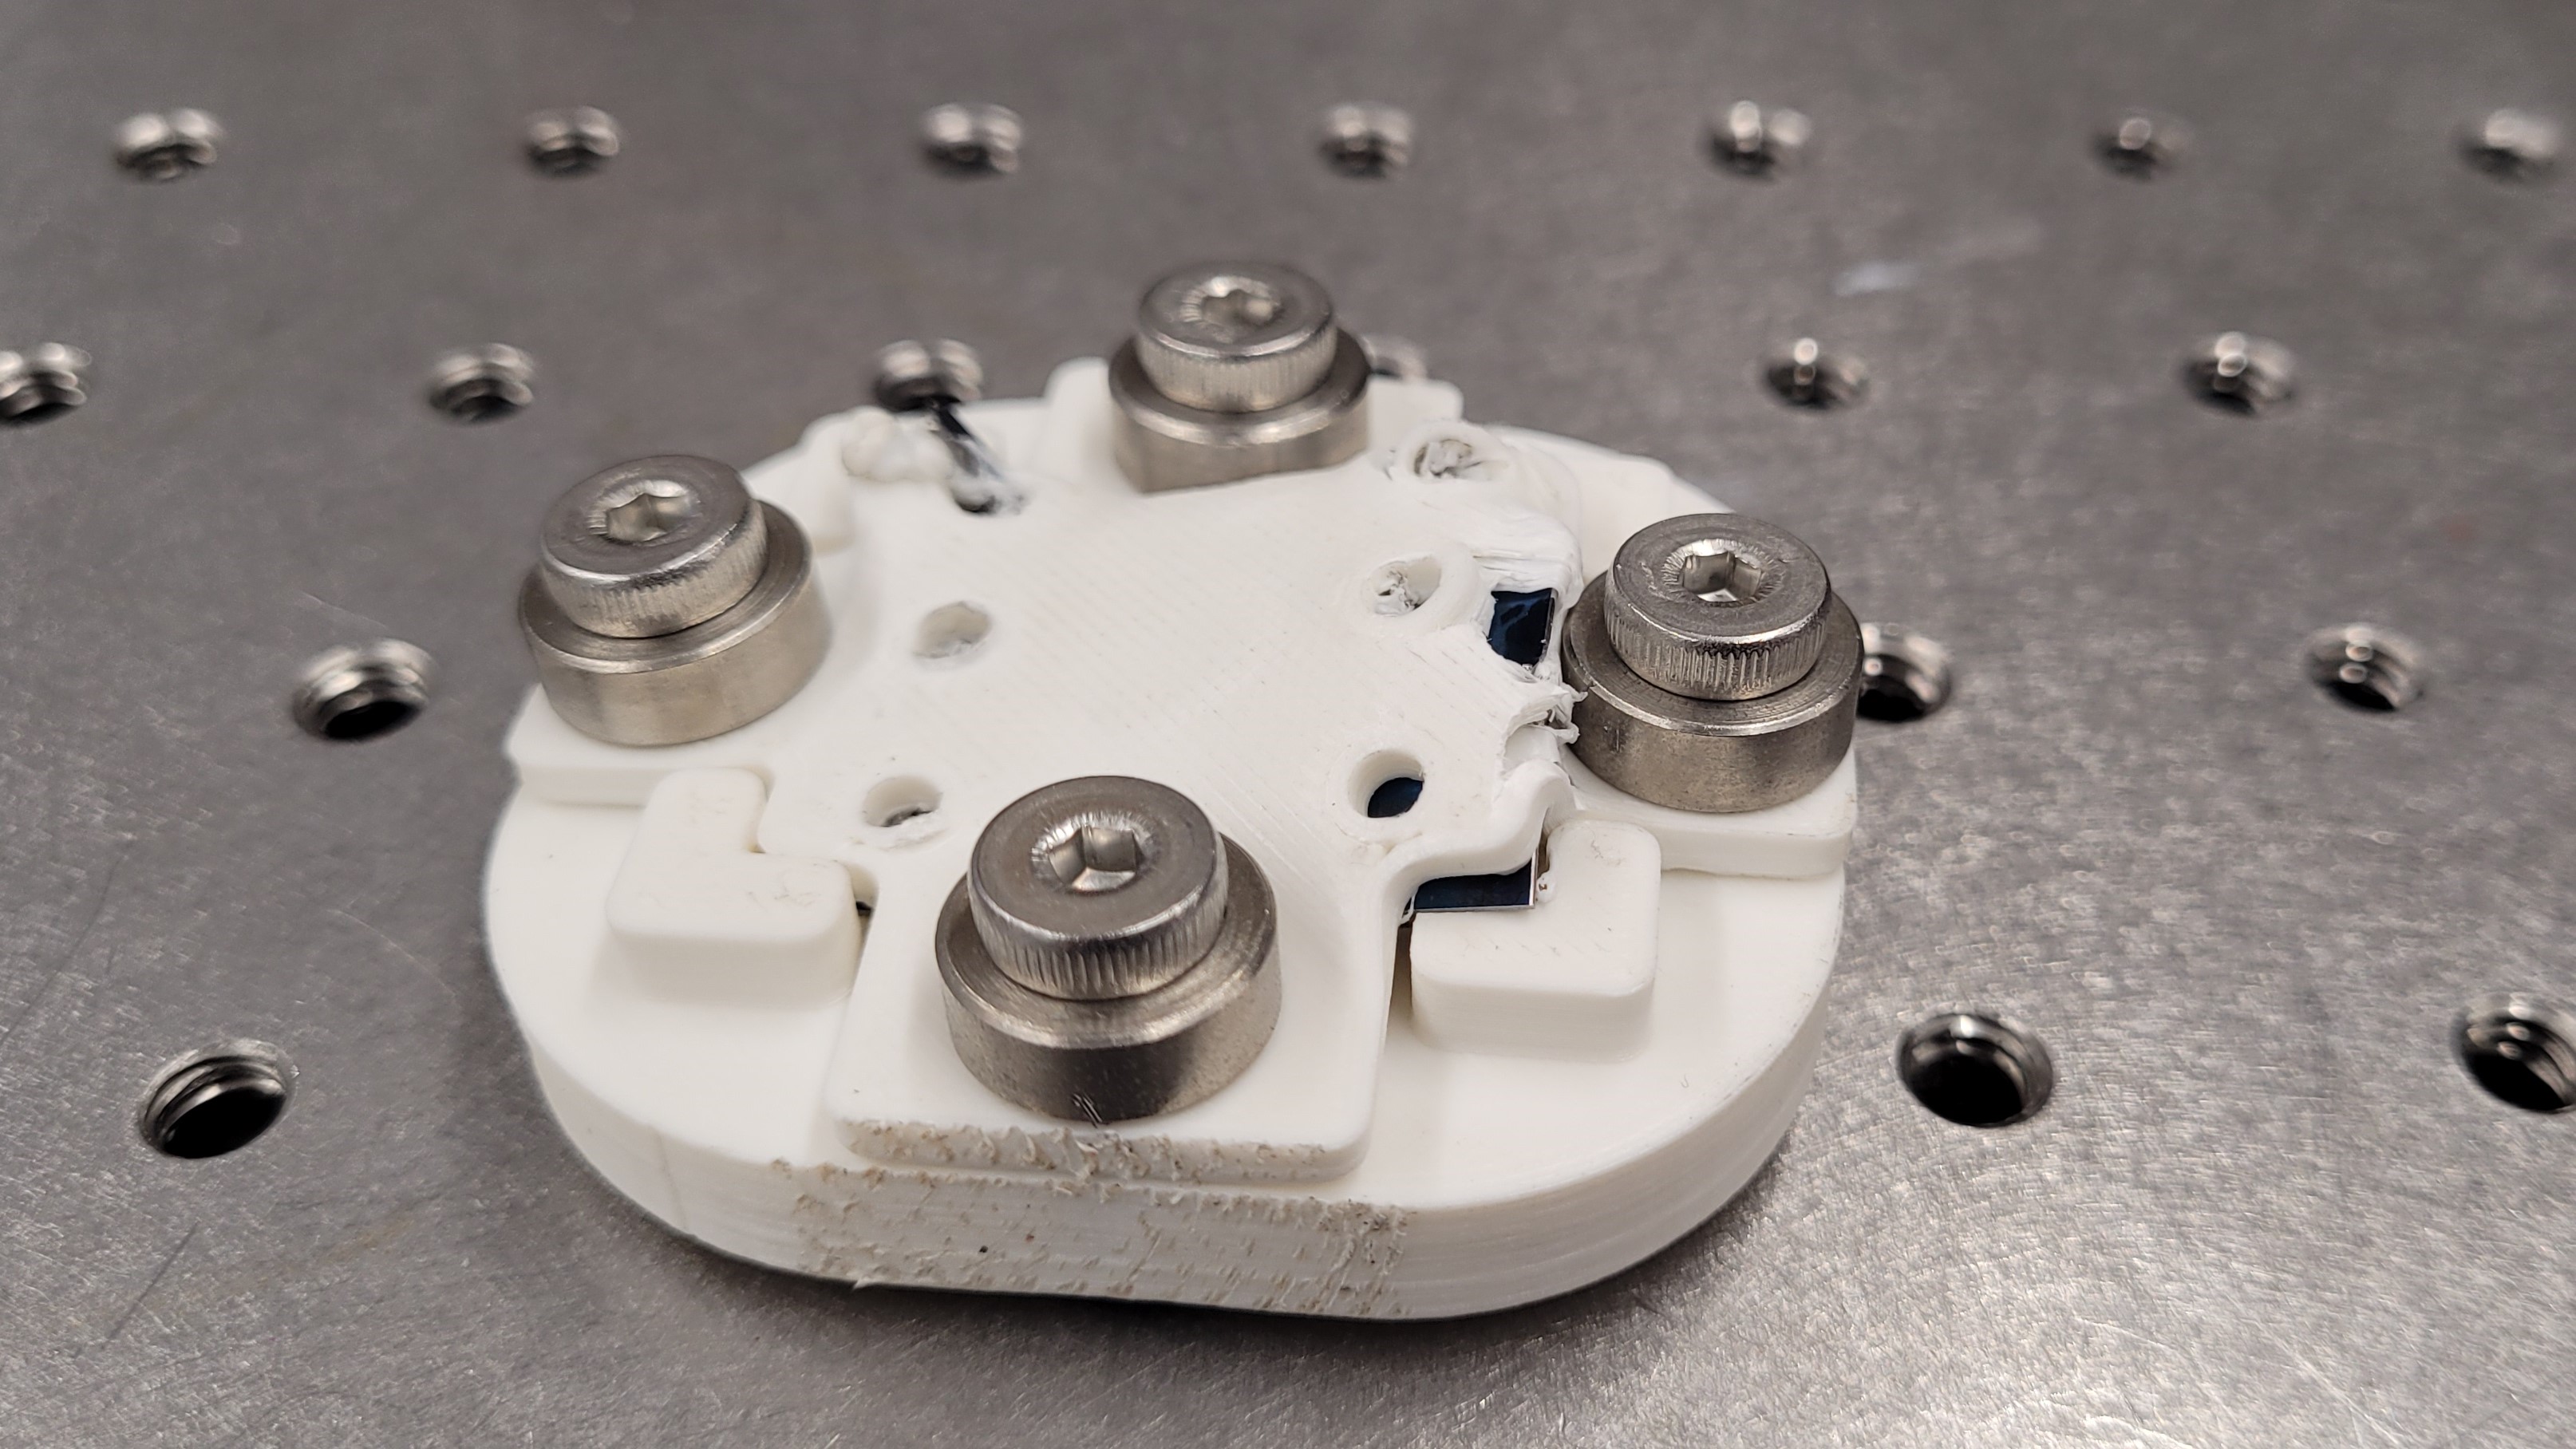
To develop a miniature blower module that sustains propane combustion within a LightCell power generation unit.

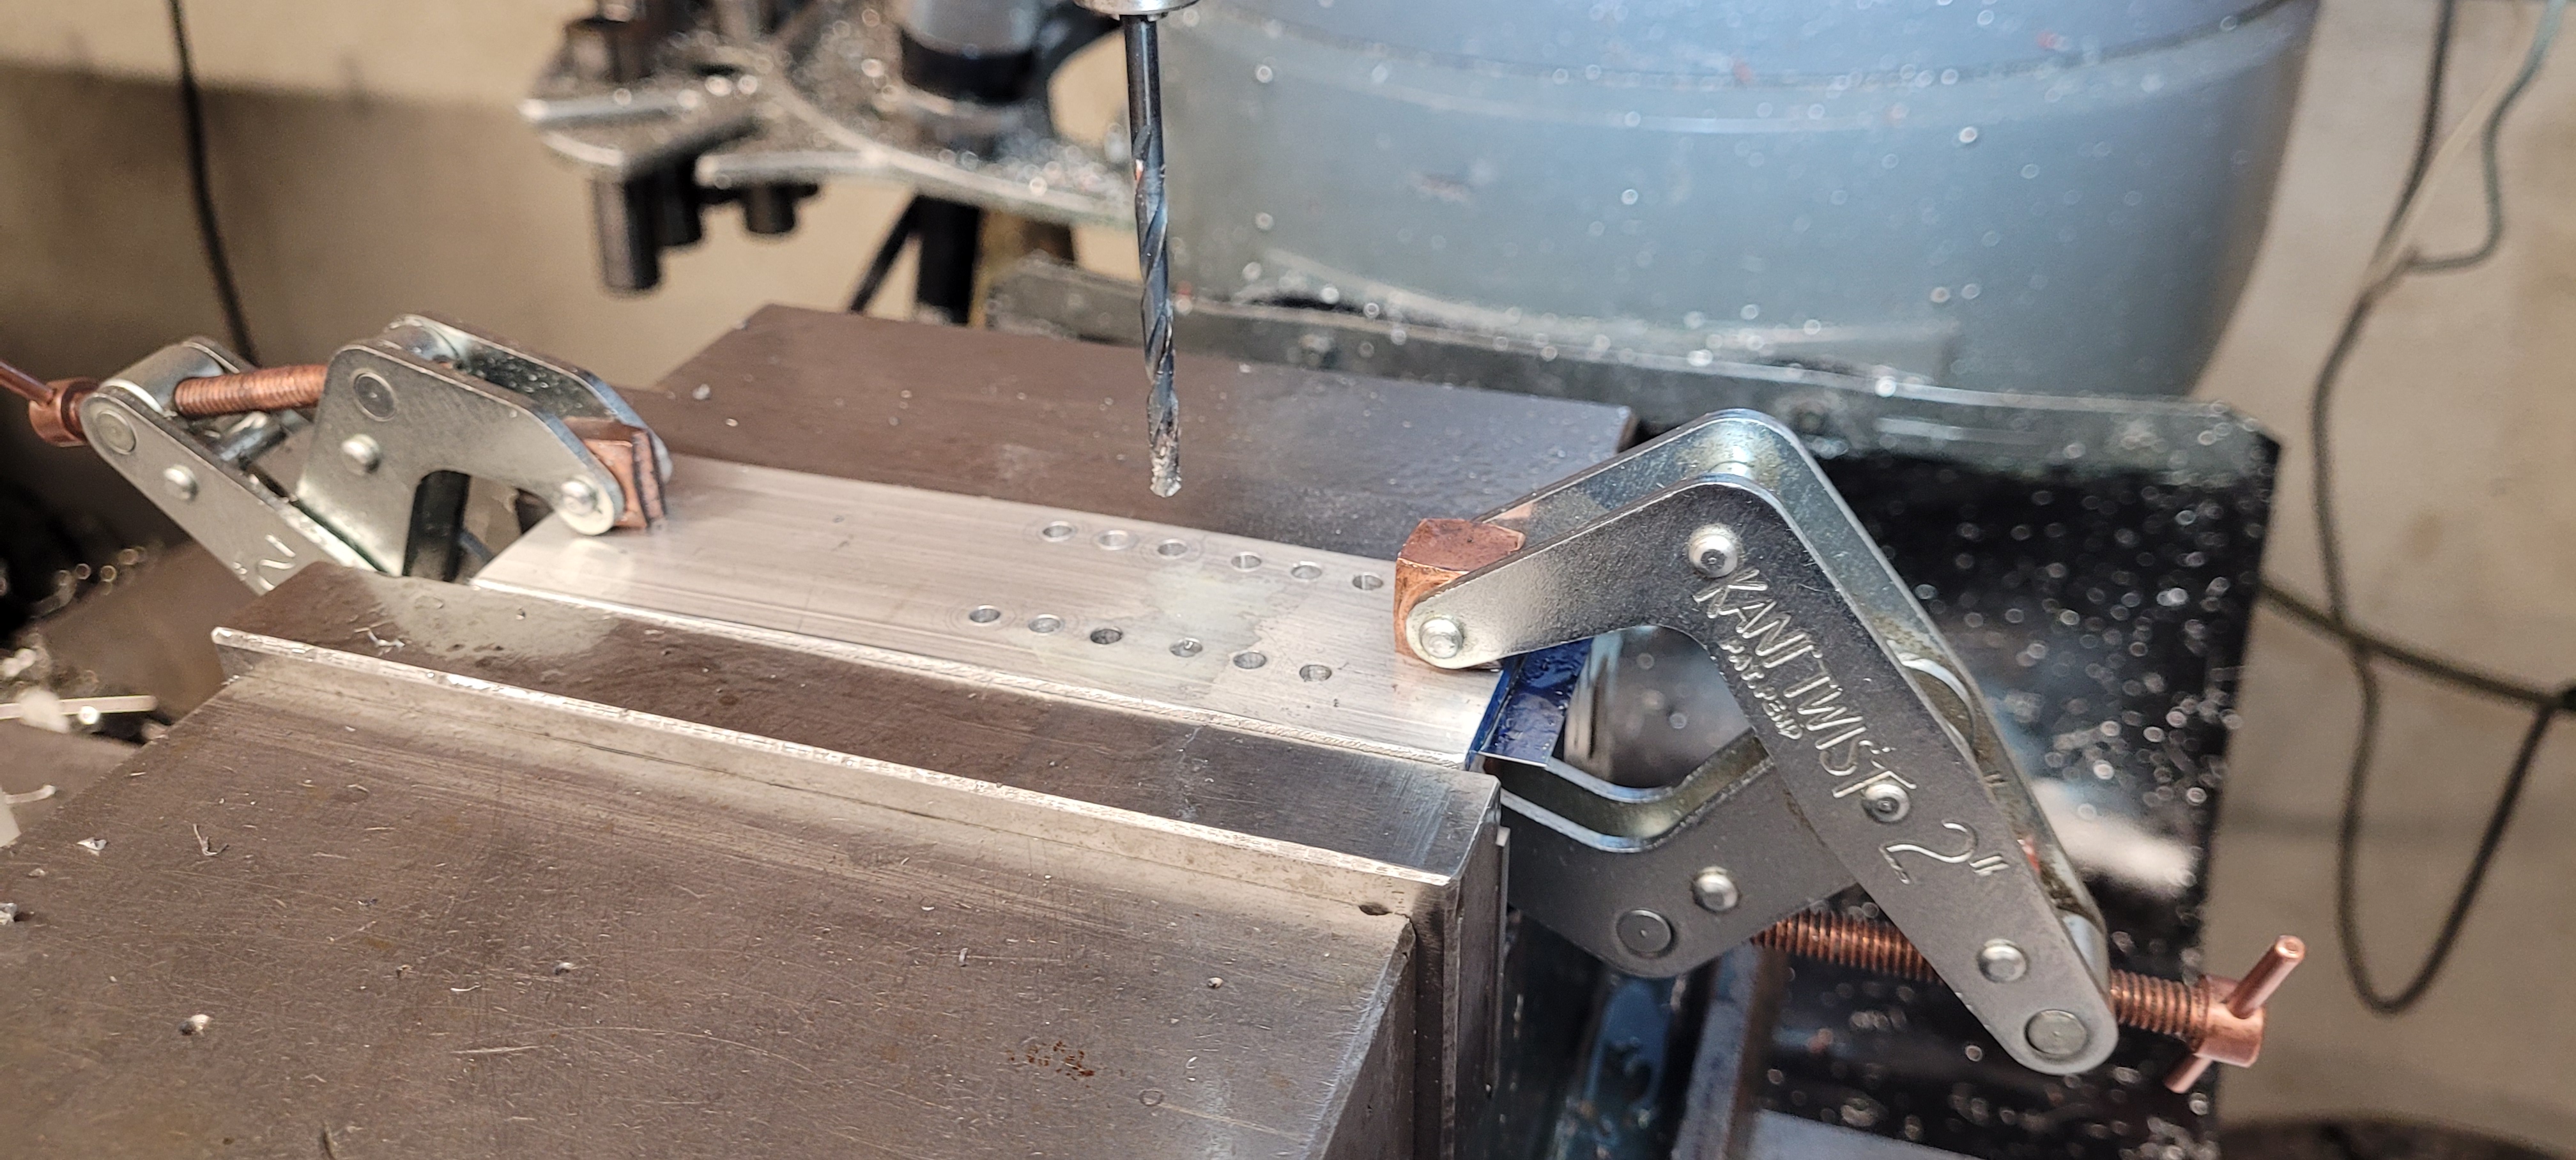
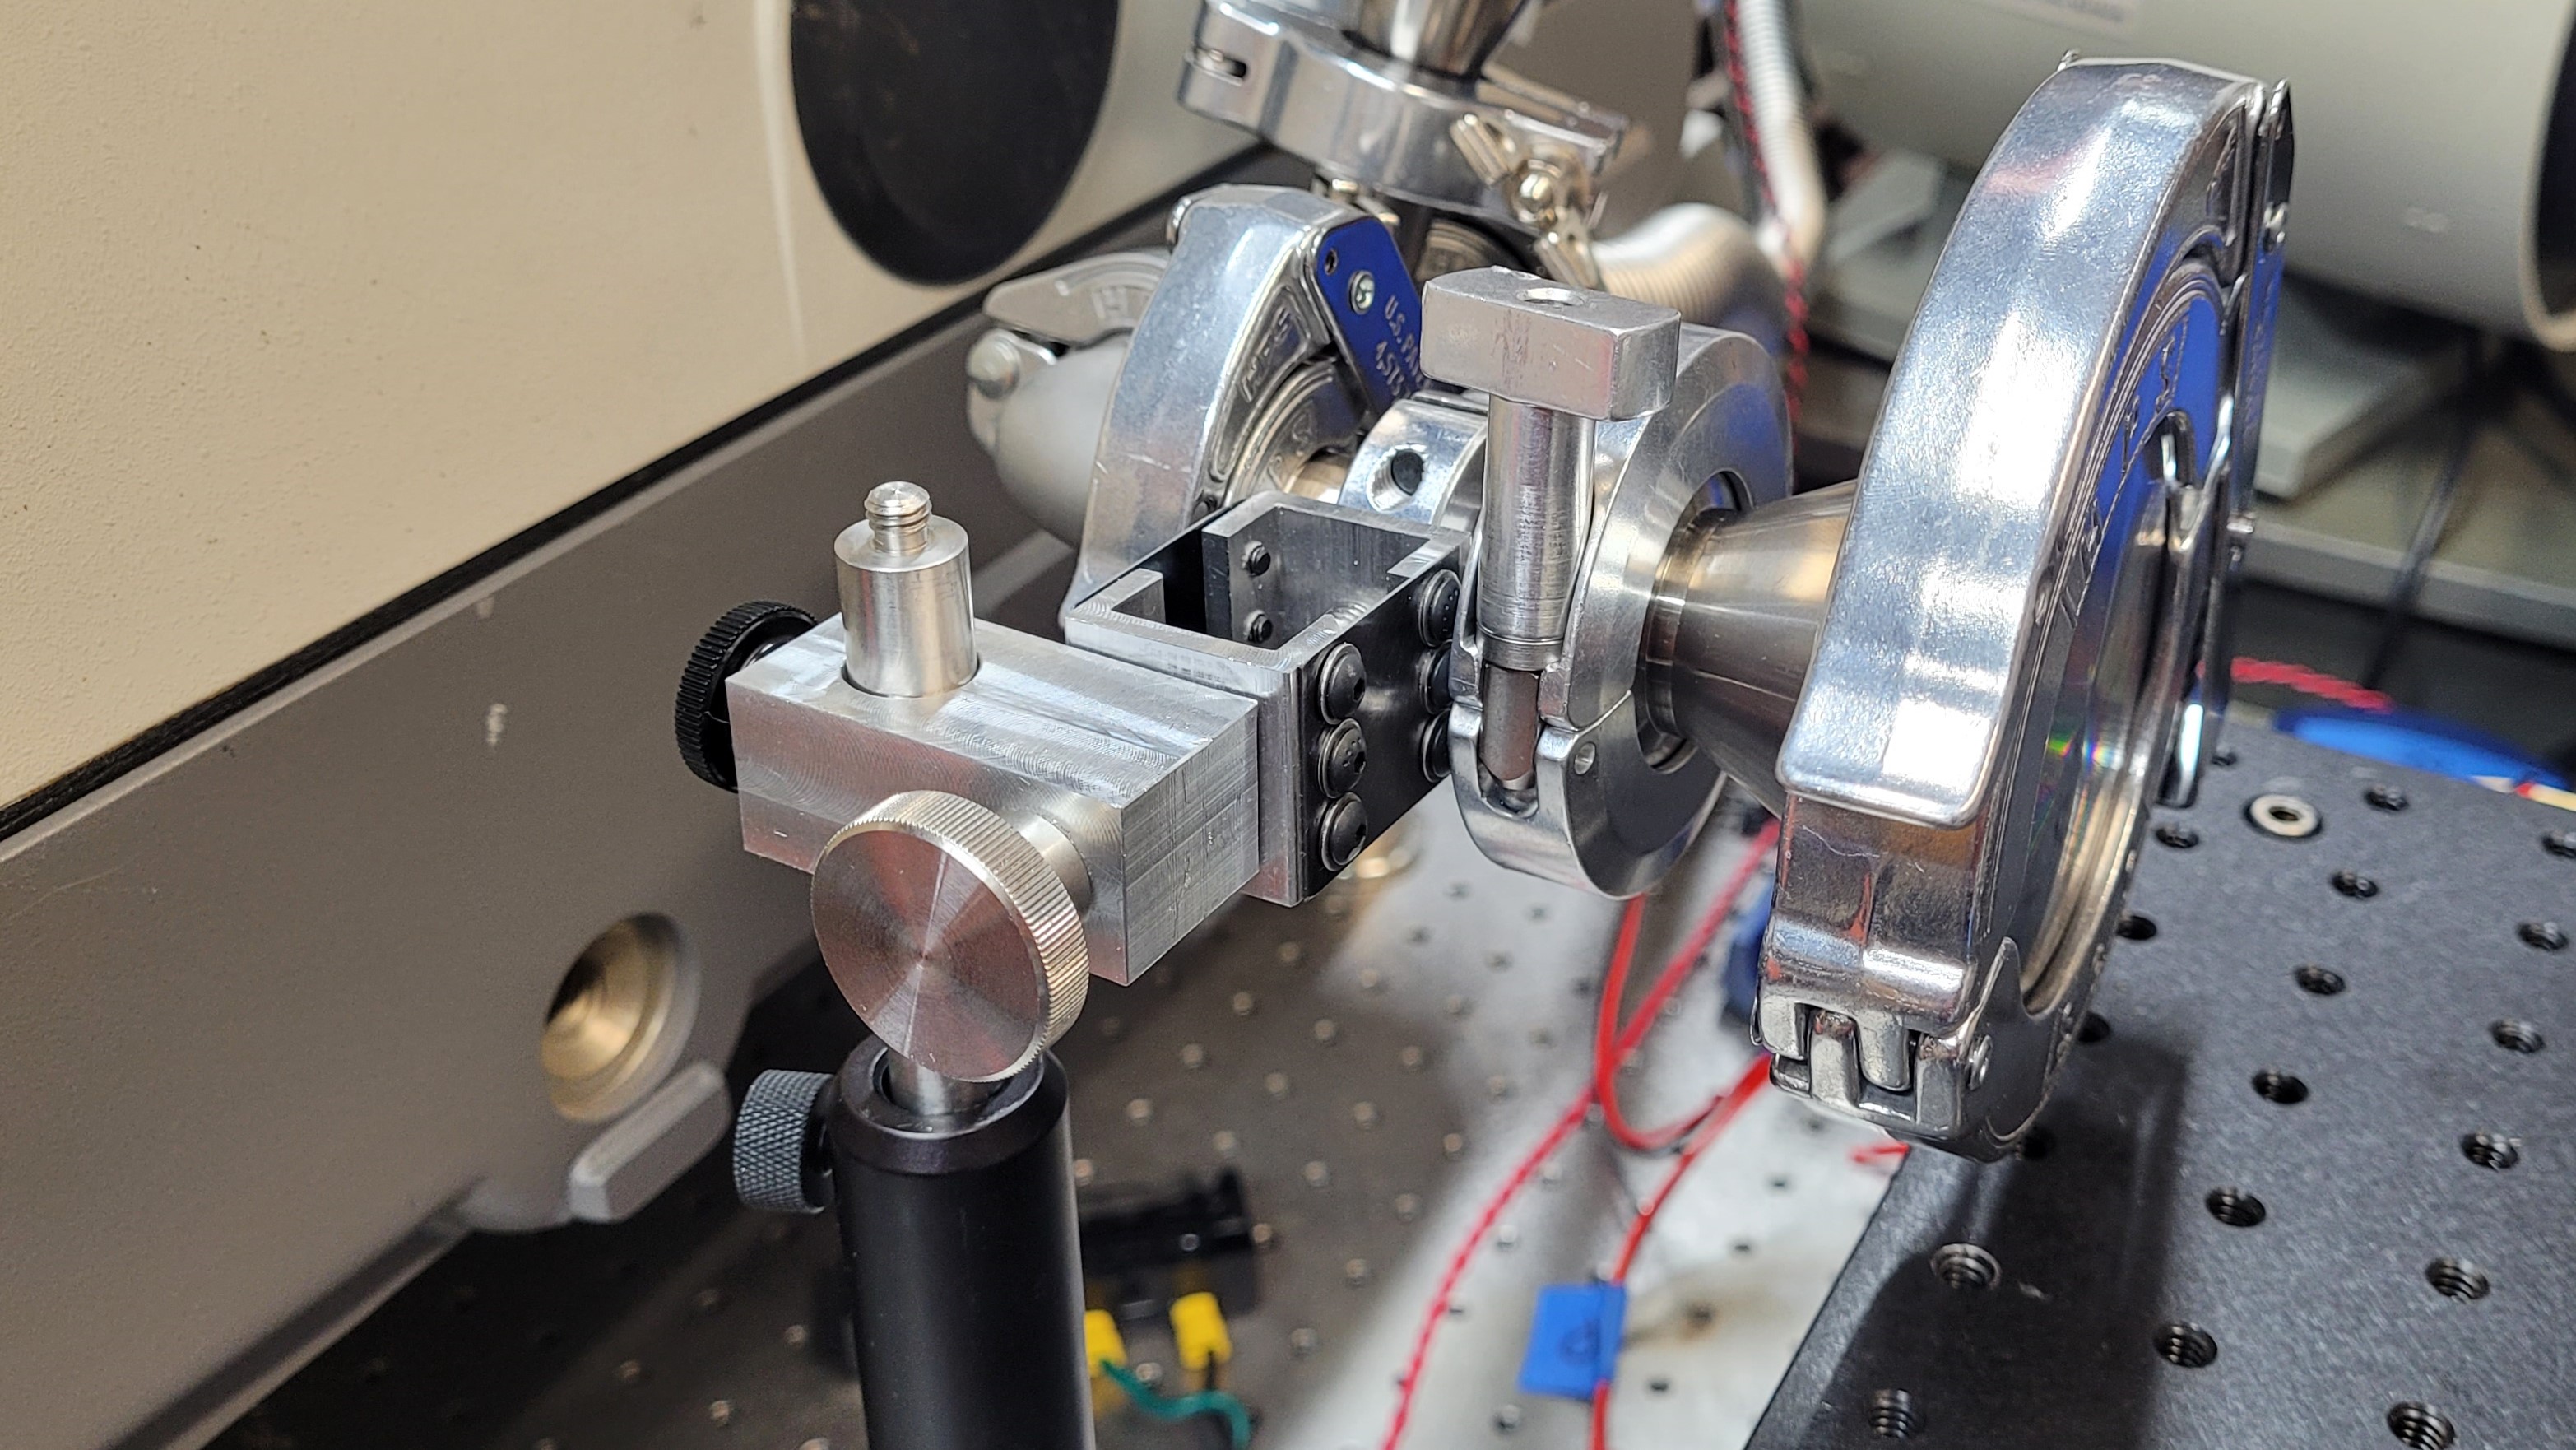
Iterations and Prototyping

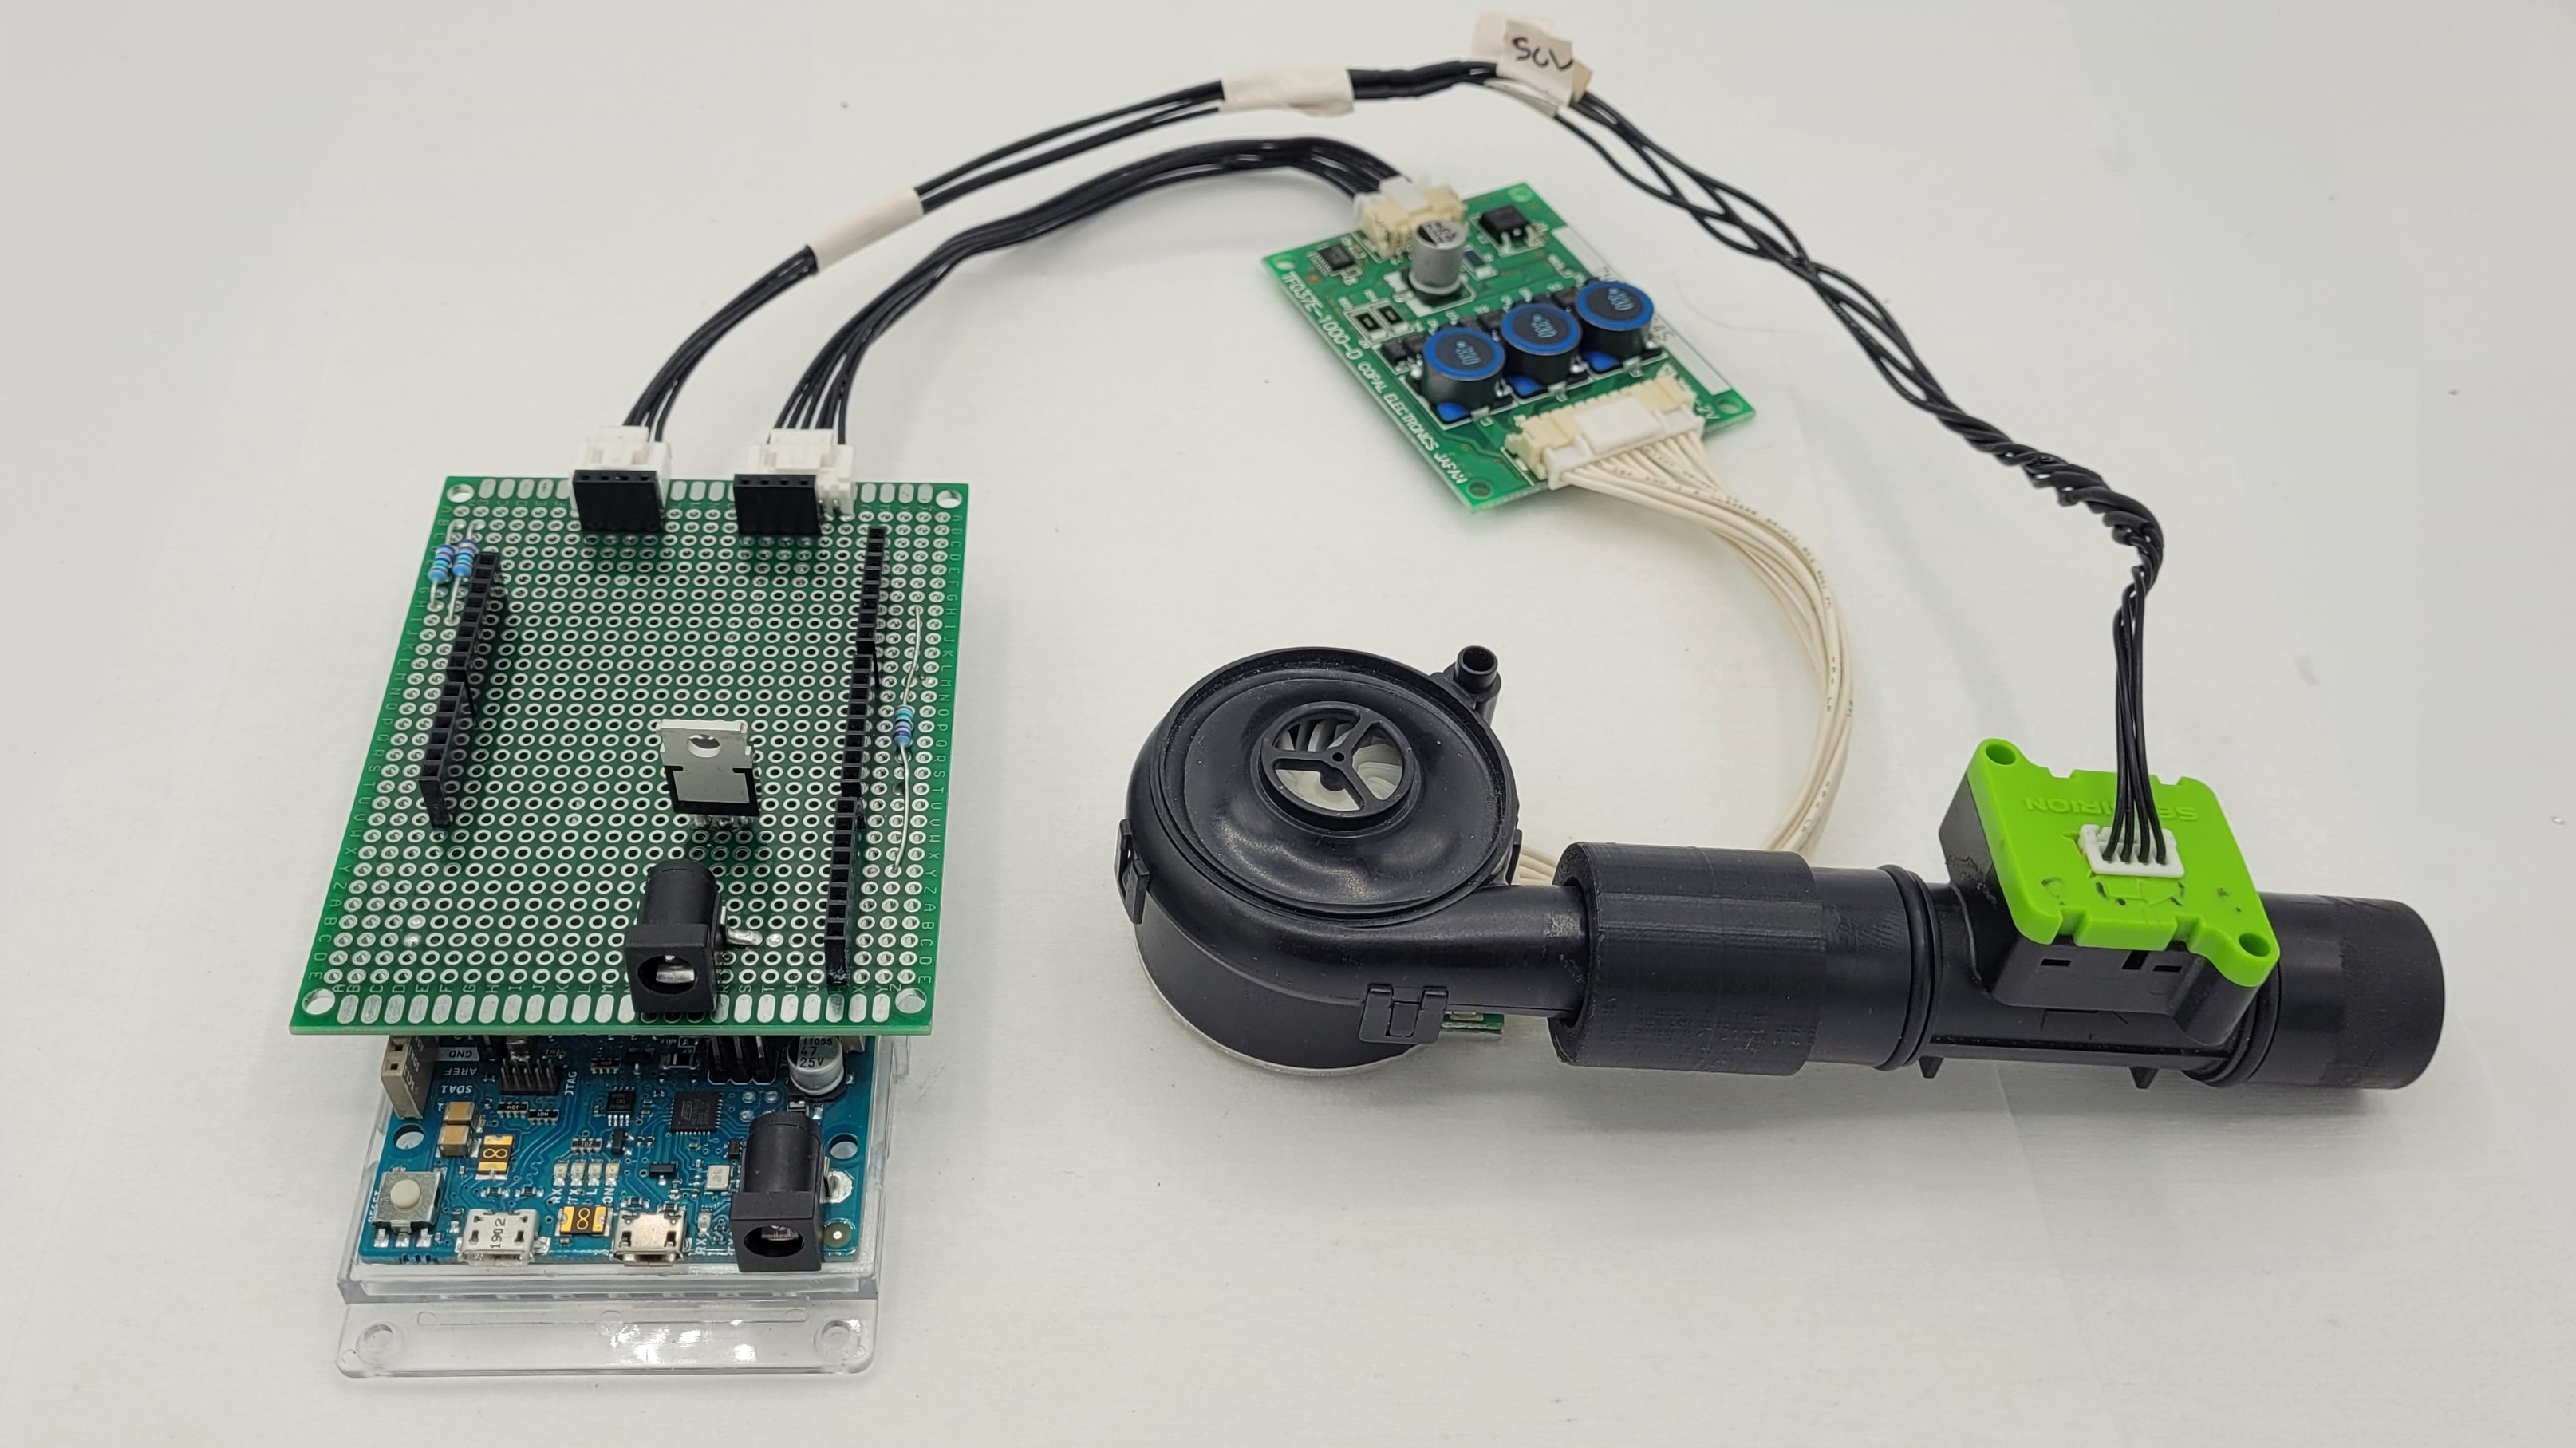
Three different controllers were used in the prototyping stage: Arduino Due, Adafruit nRF52, and the Arduino Nano.

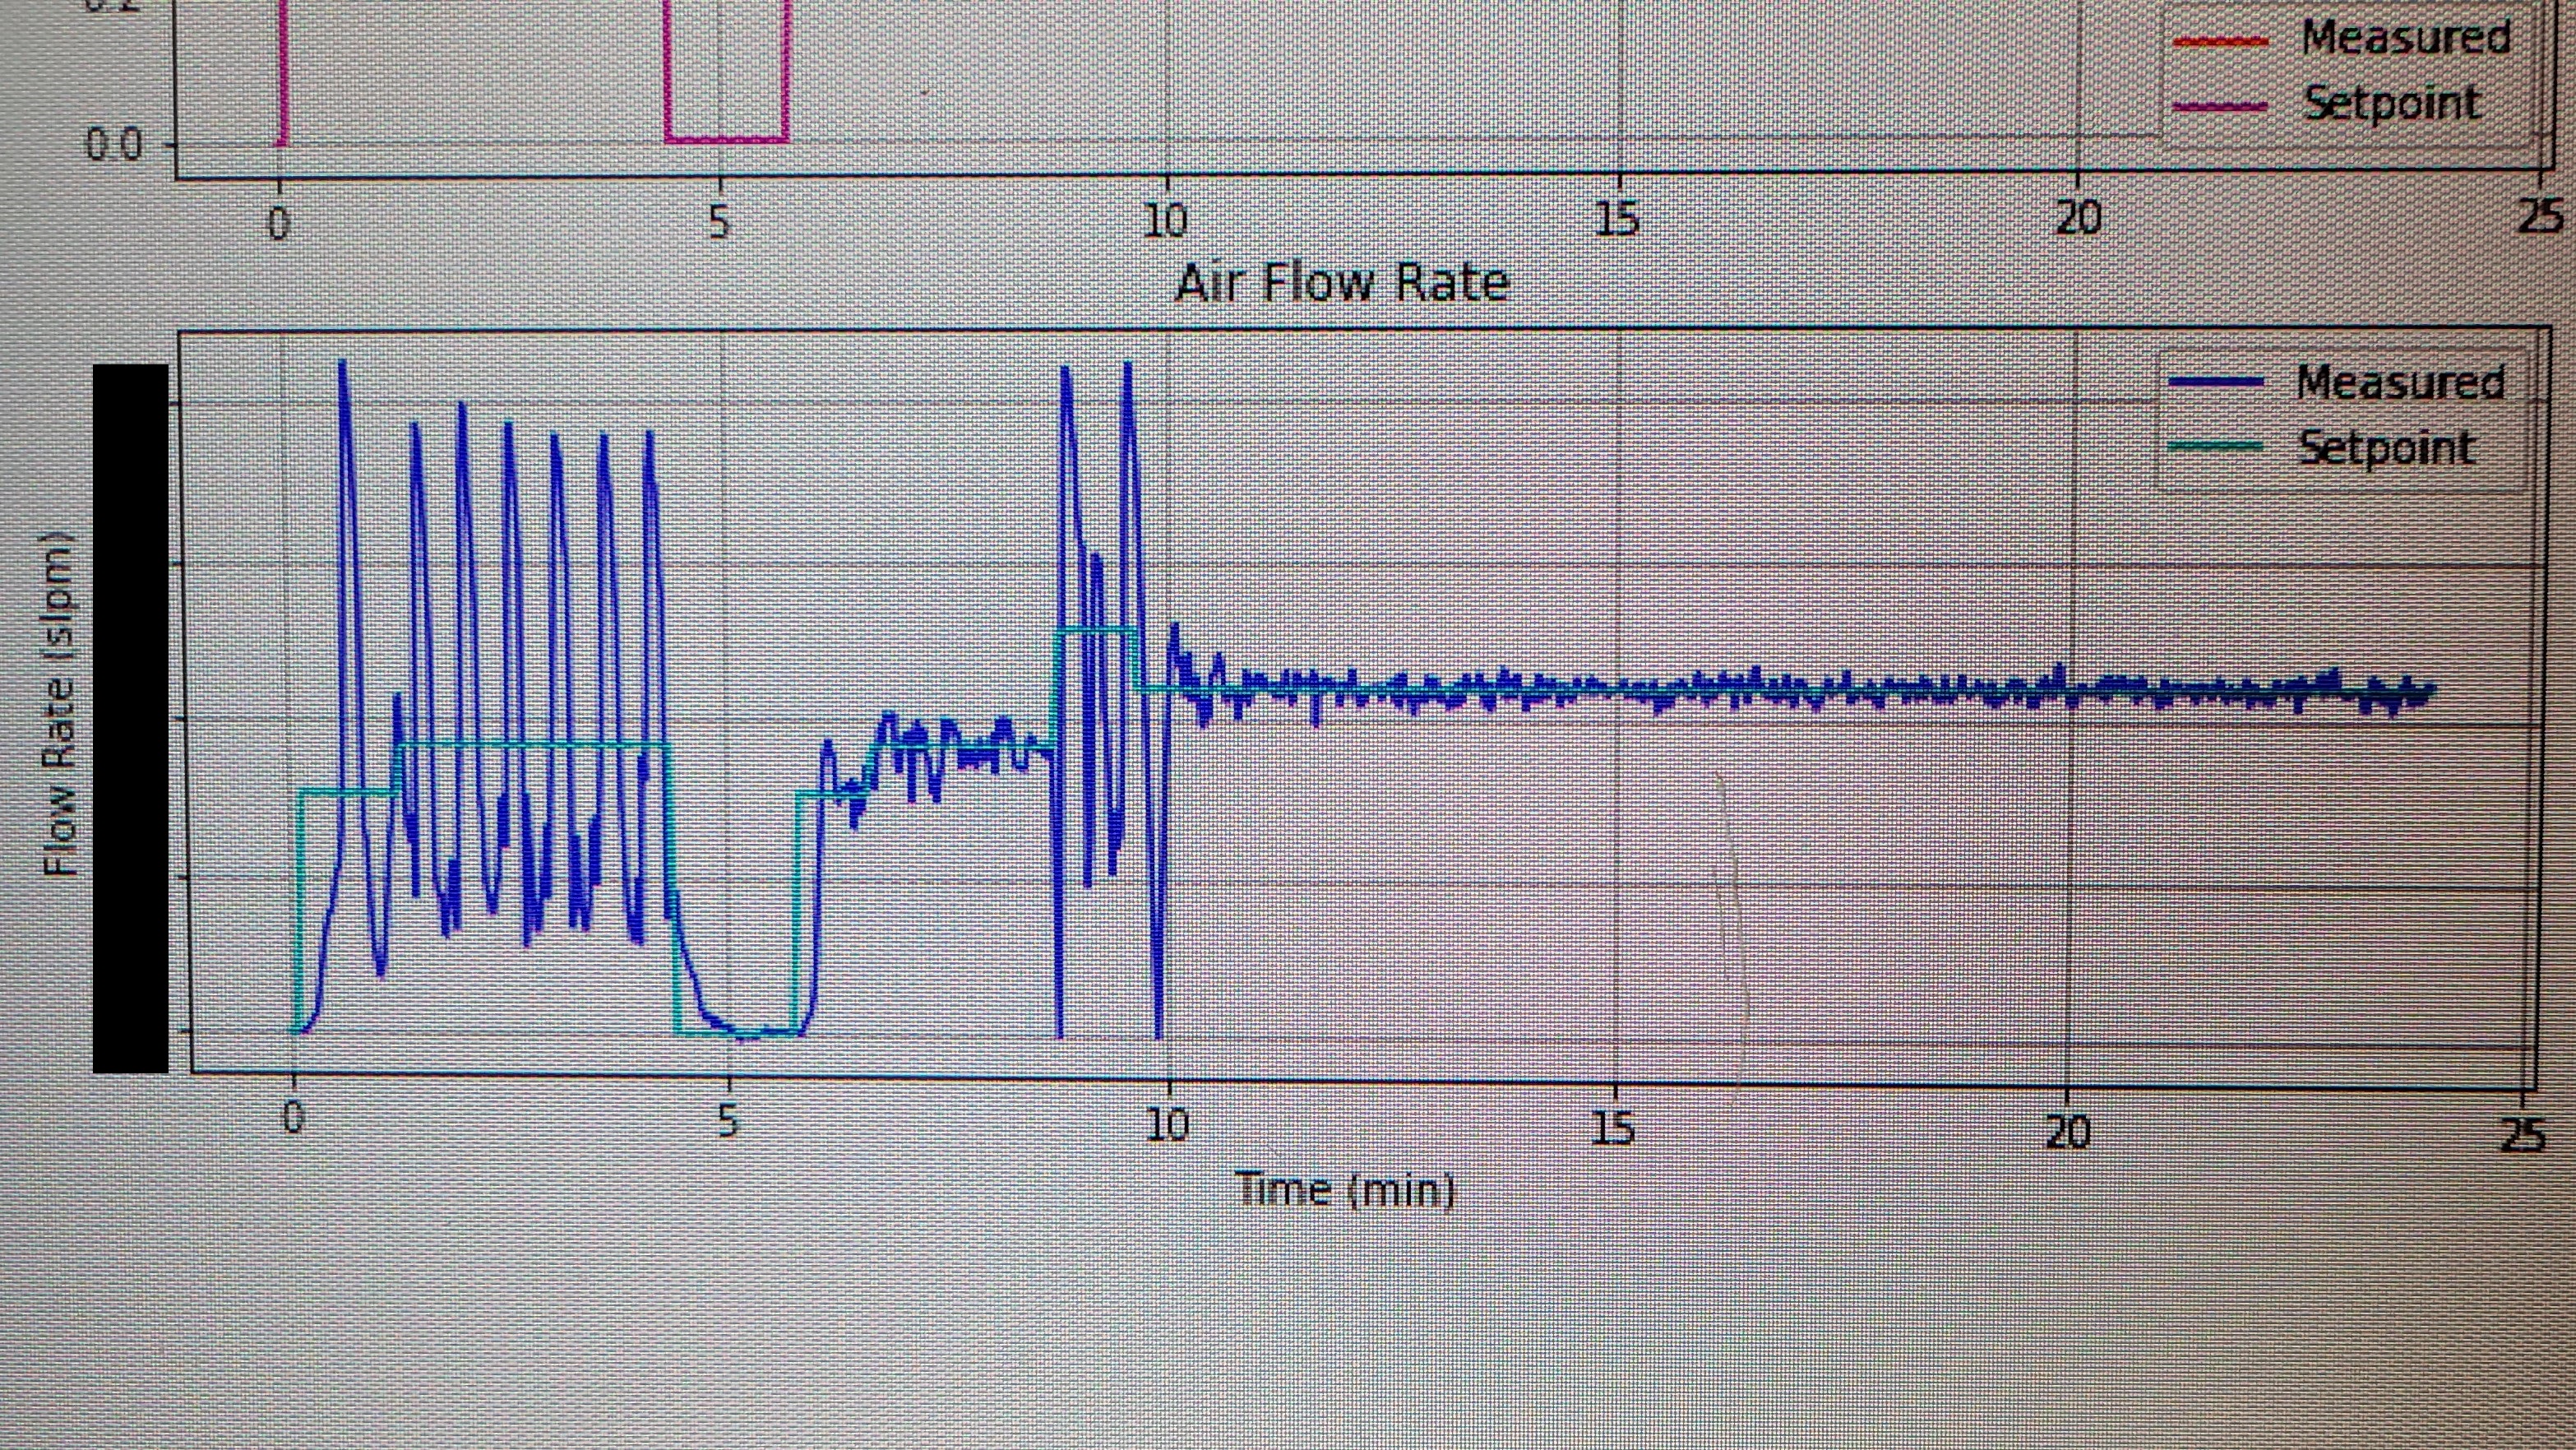
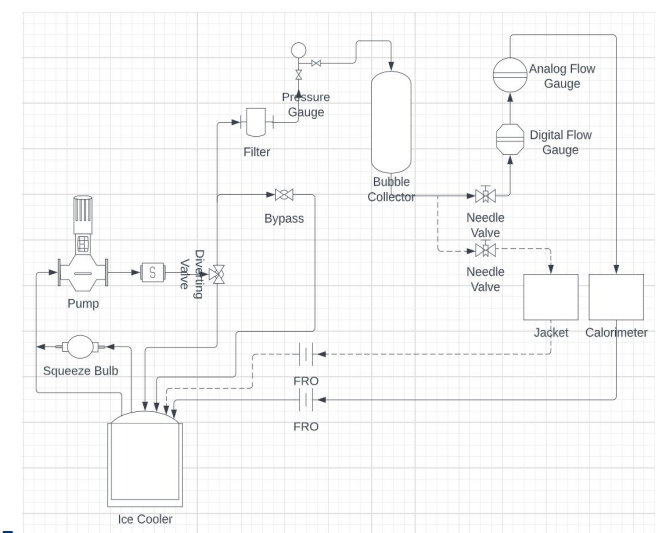
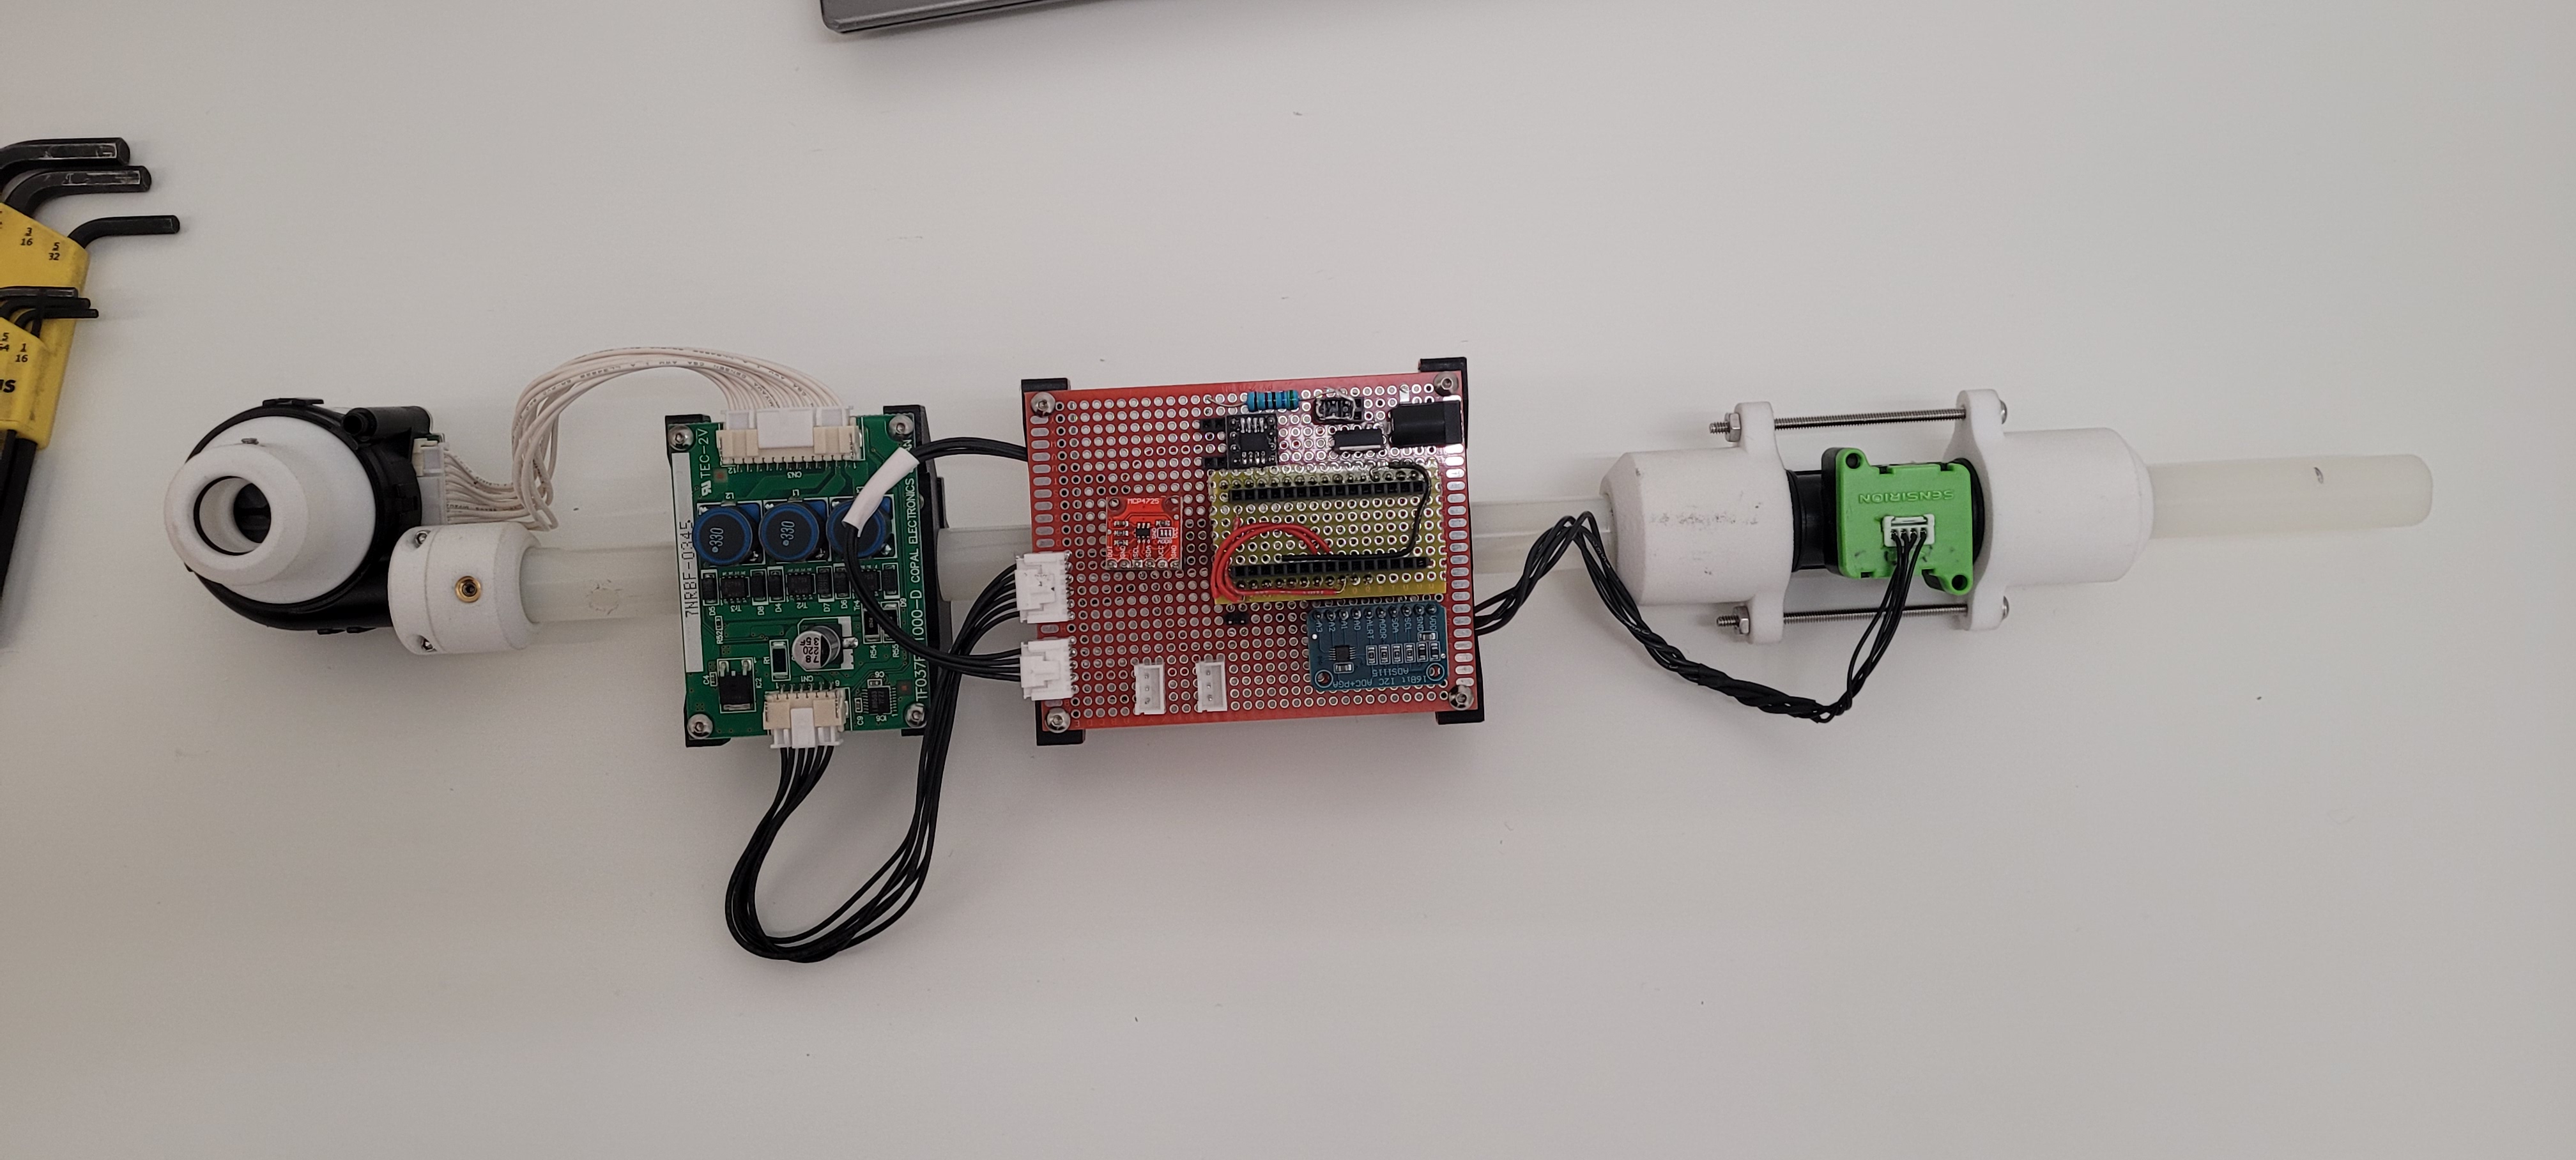
A Sensirion flow meter provided feedback for PID flow rate control.

Each iteration slowly reduced overall power requirements from 48W to 7W through improved blower selection and more efficient air flow paths.

First Arduino Nano-based PCB with integrated motor drivers and ADCs.

Combining the blower fan, motor driver, control circuit, and digital flow sensor.

Testing component compatibility with an Arduino Mega shield.

Control board version 2 uses an embedded STM32 chip. The banana is for scale.

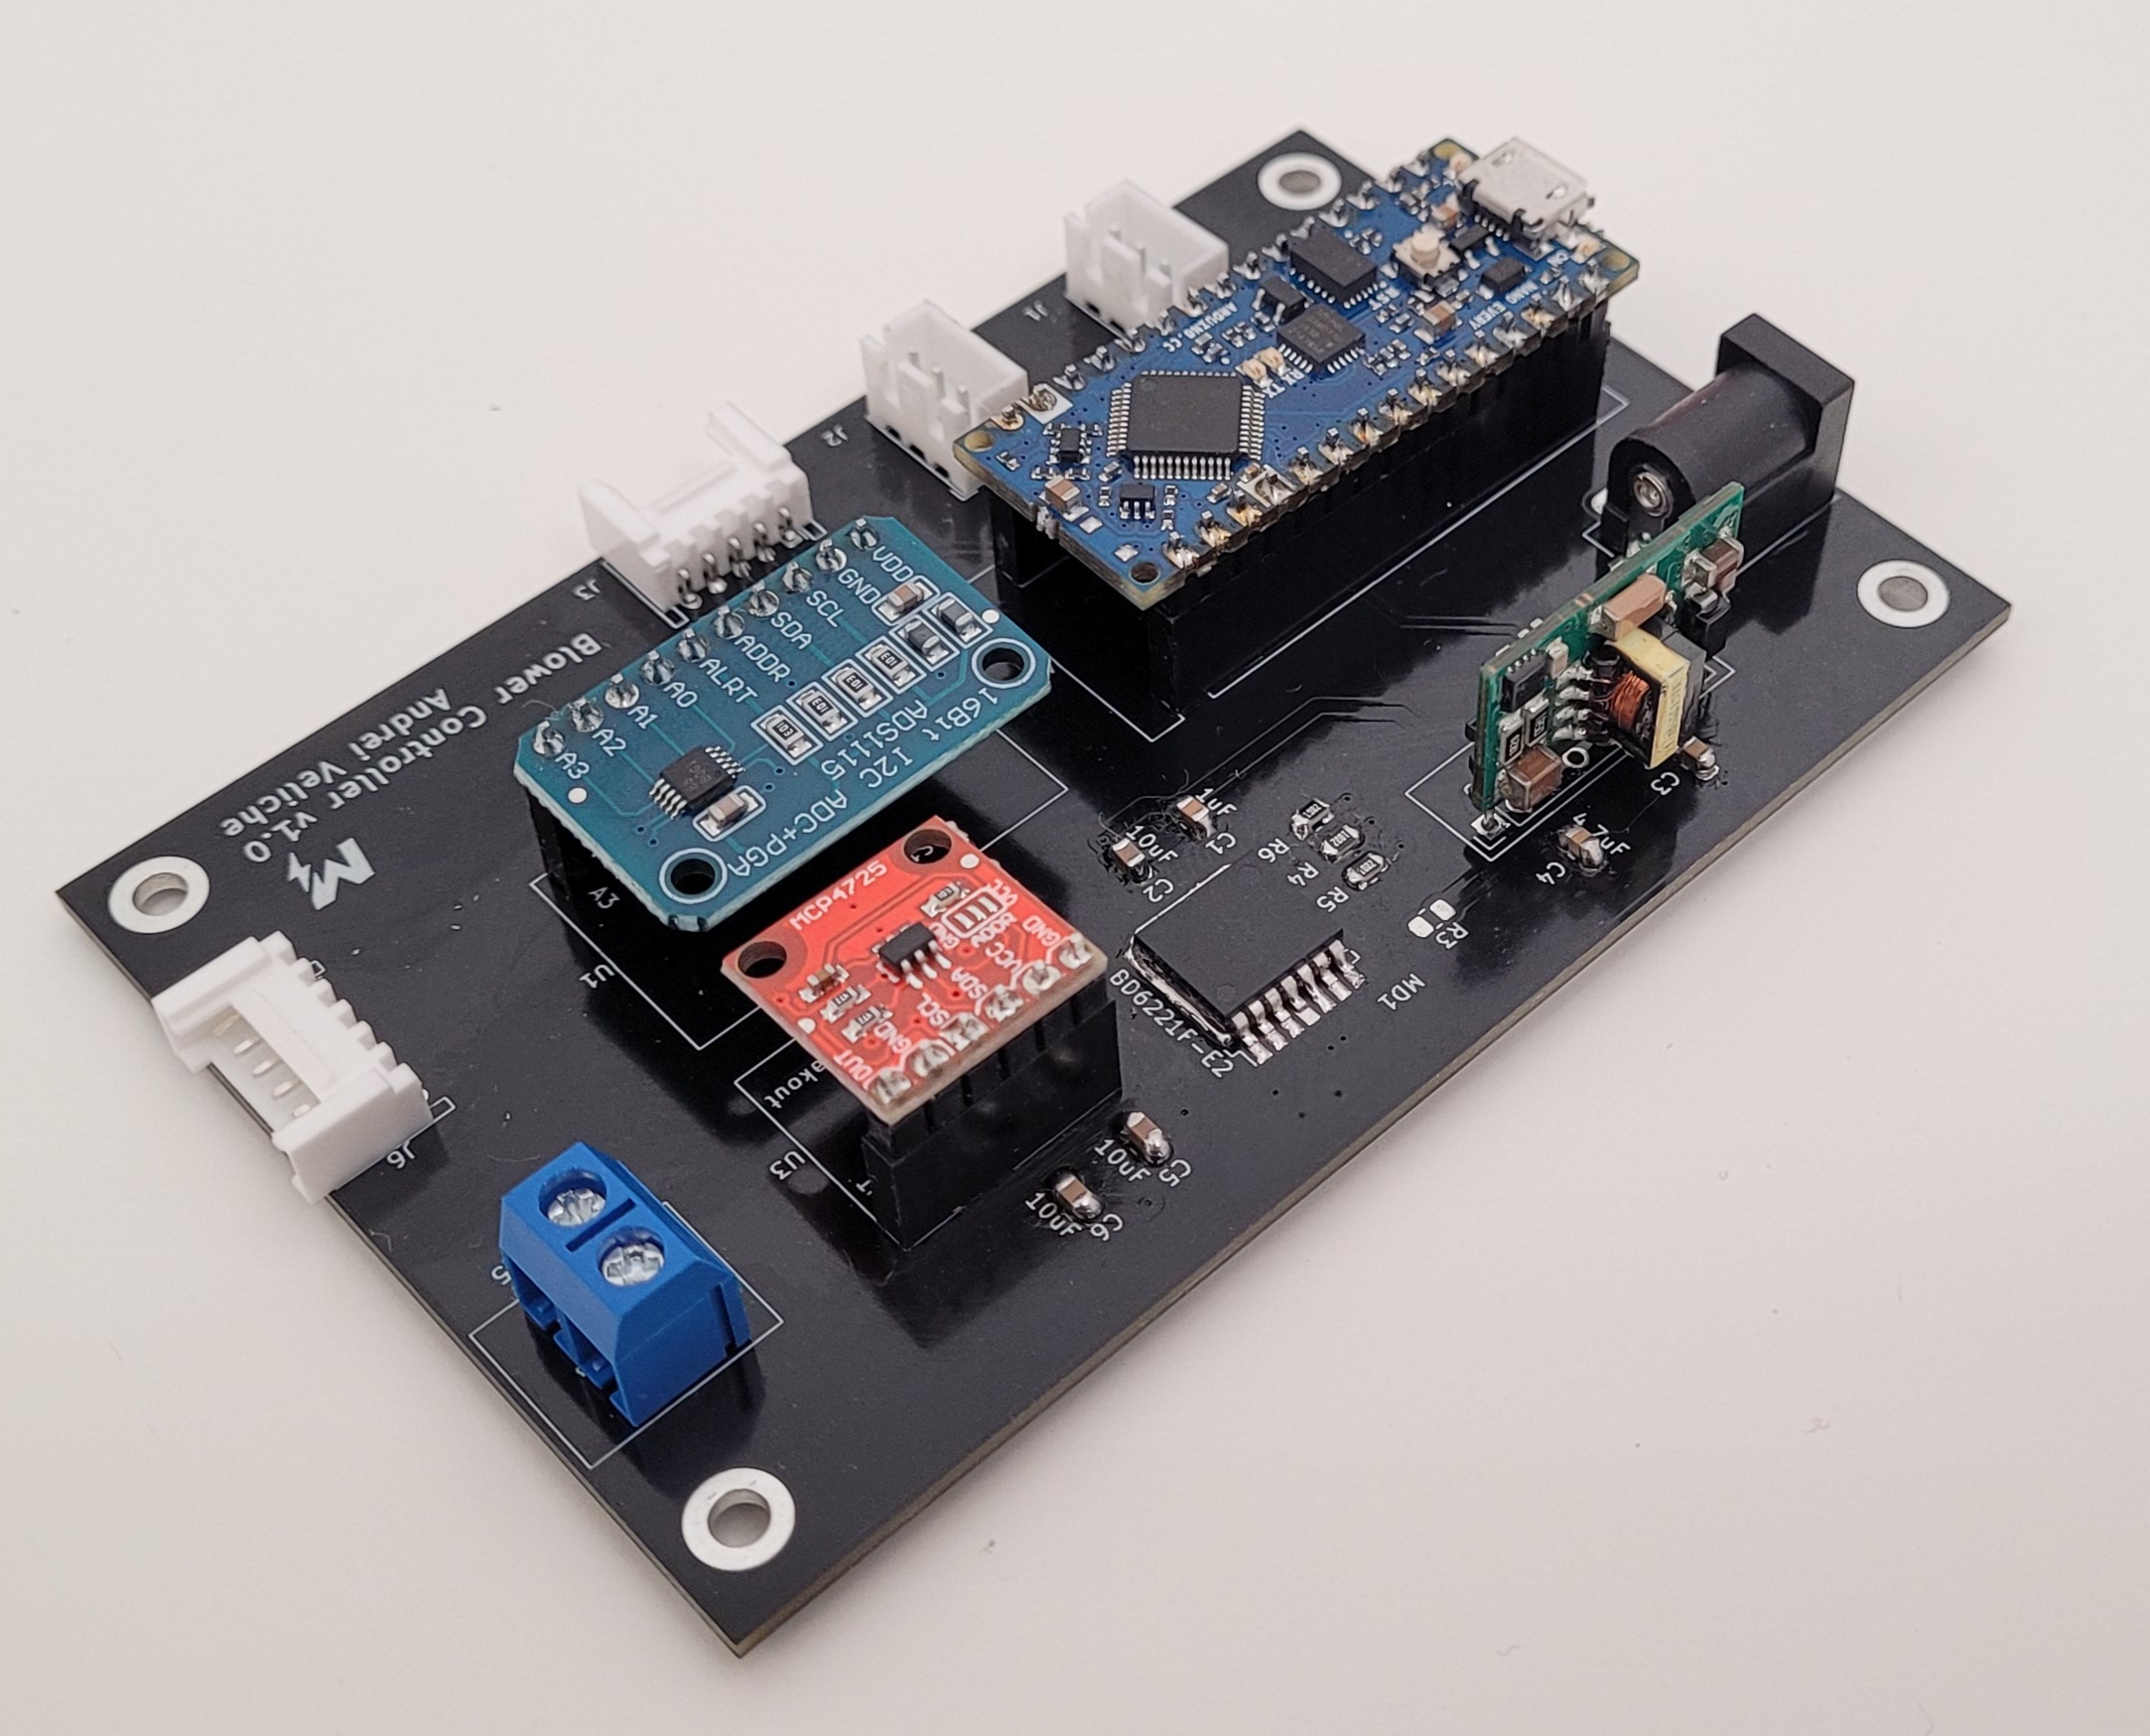
Final PCB and Testing

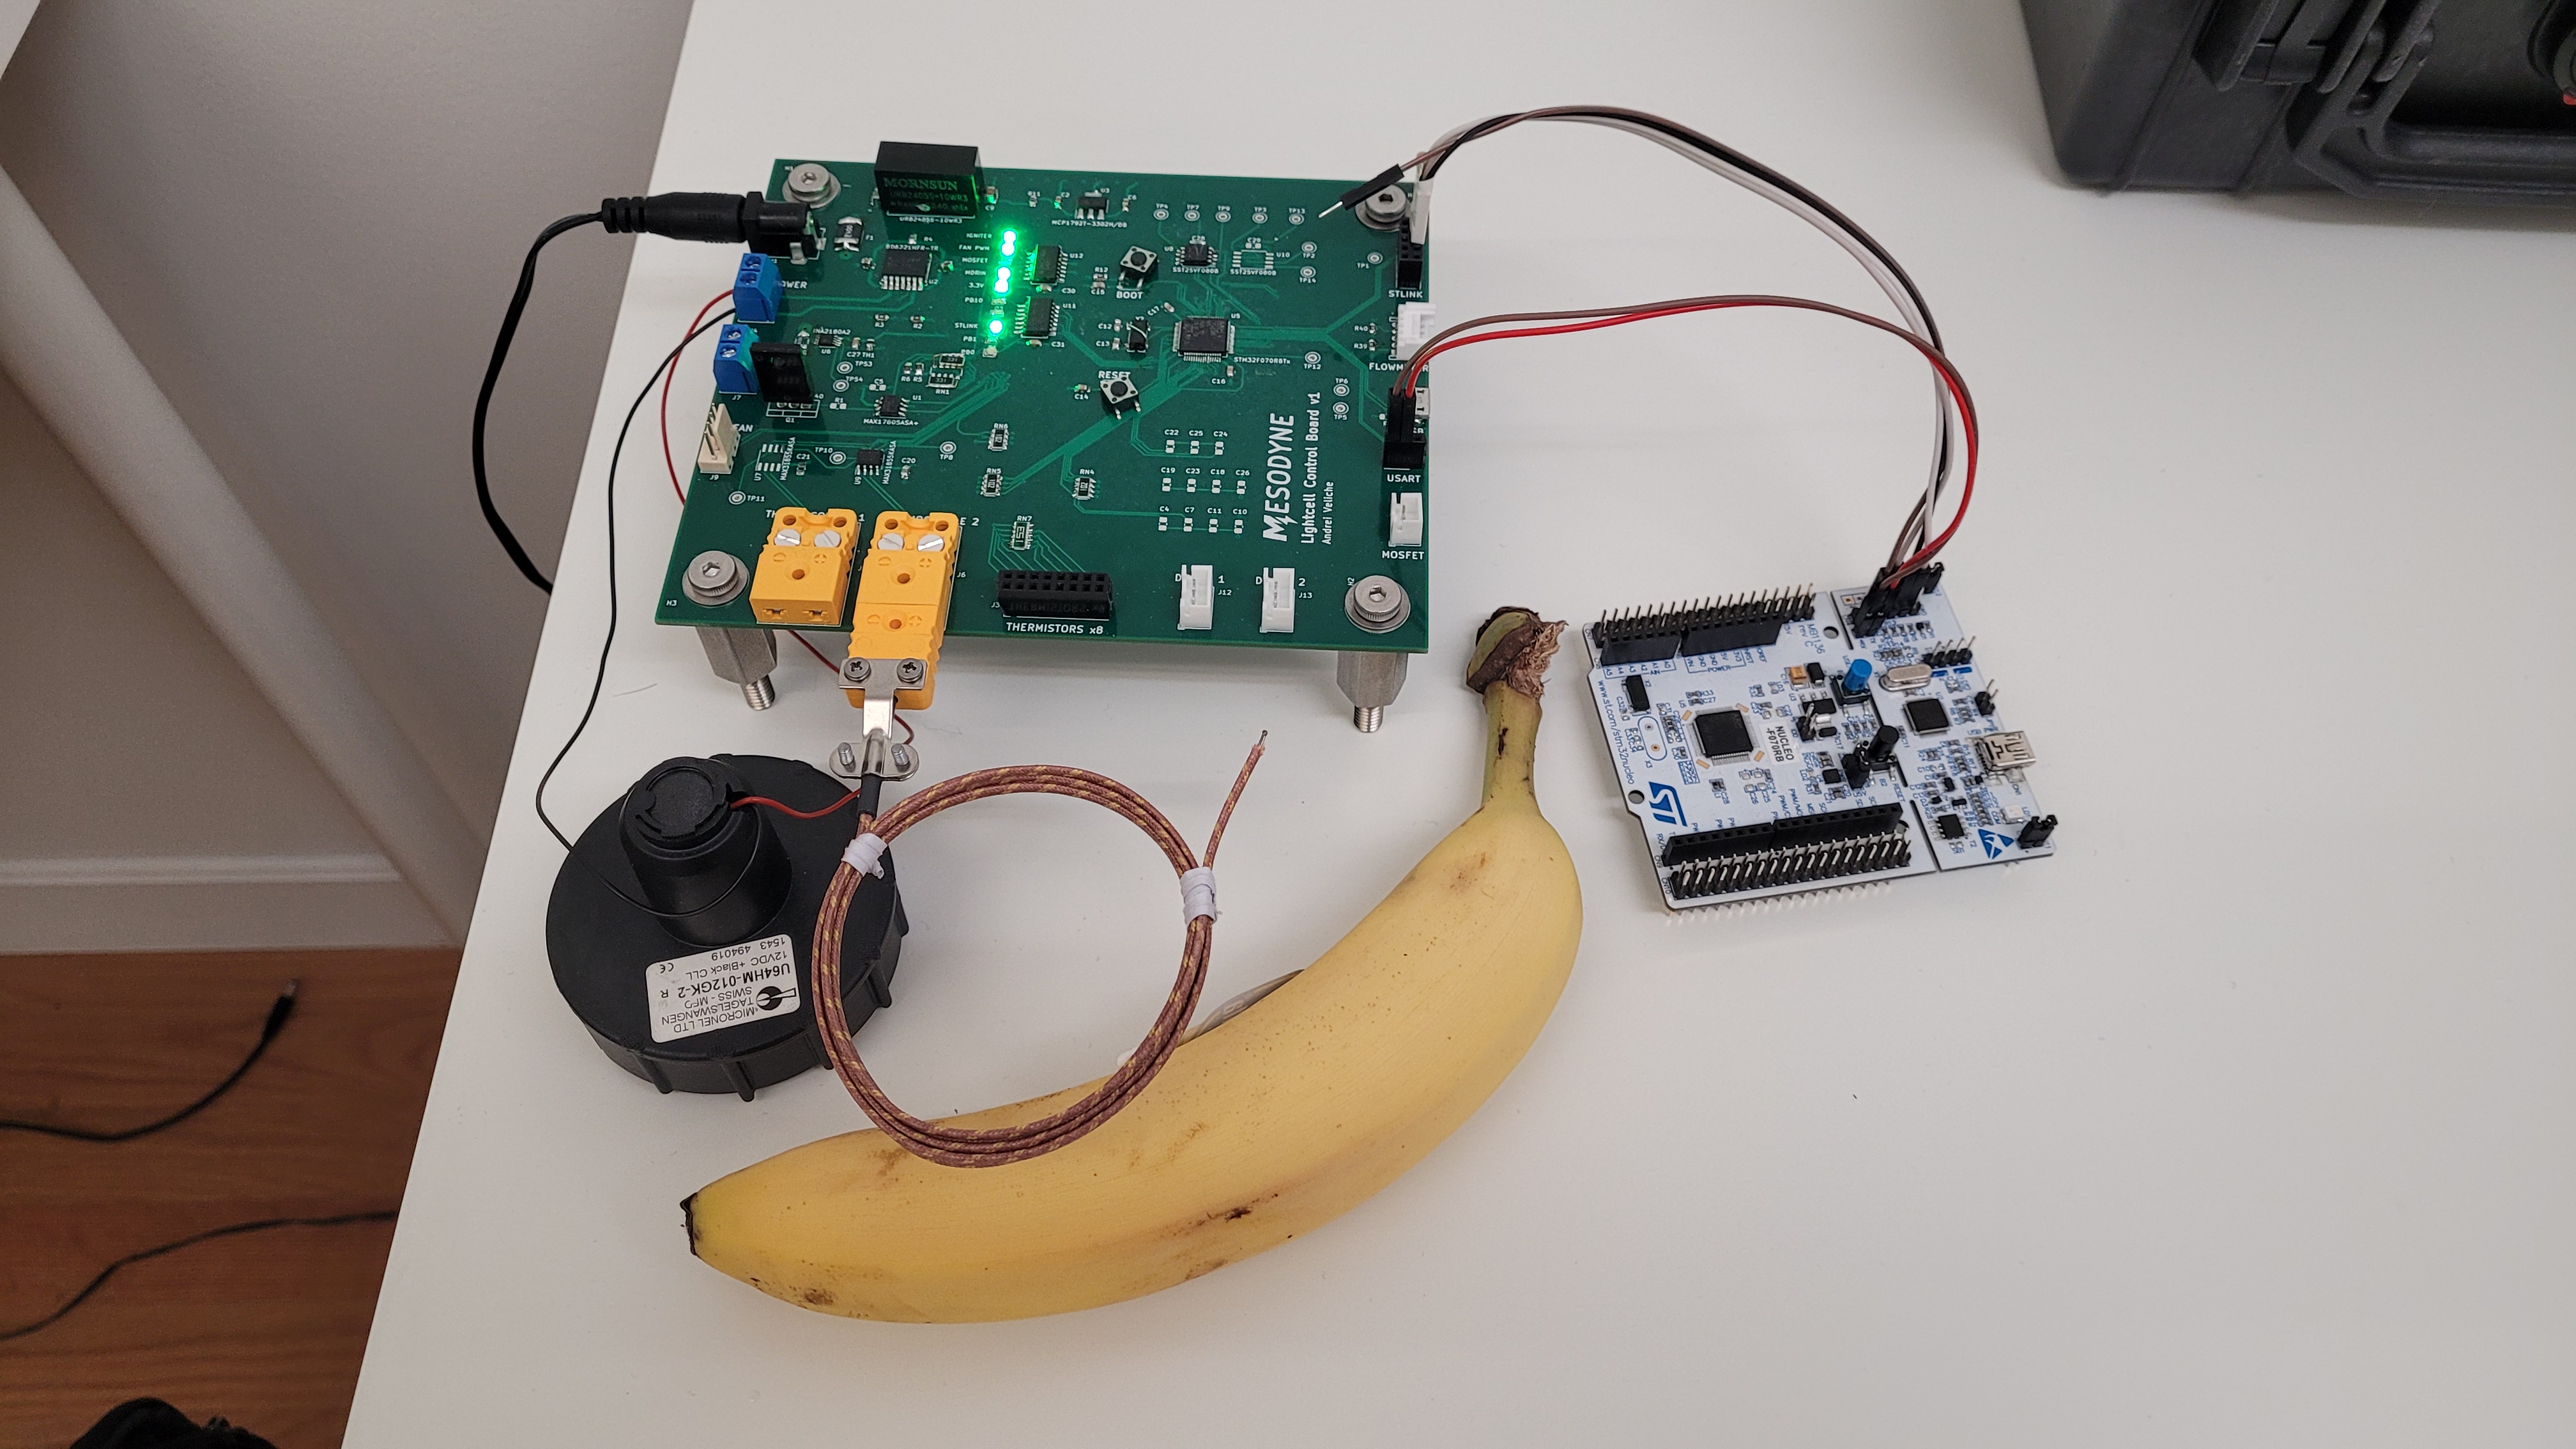
The final PCB was built around the STM32F07 family of MCUs due to their accessibility. Onboard are the following components.

  • Thermocouple amplifiers for temperature sensing.
  • Analog-to-digital converters for thermistors.
  • 32MB of flash memory for data collection.
  • Power MOSFETS for turning on 12V systems.
  • Motor driver for the blower.
  • I2C, SCL, and ST-LINK communication lines.

A major challenge was to subdue turbulent fluctuations in airflow right after ignition, casued by rapid thermal heating and acoustic resonance. A combination of PID tuning and acoustic dampening was used to achieve stability.

Turbulent flow rates transition into a steady stream following ignition.

Thermal Emissions Calorimeter

Project Goals

  • Our benchtop burner needed a device to measure radiative heat with an accuracy of 5W.
  • A calorimeter with a high-absorptivity coating was proposed to transfer all blackbody radiation into the thermal fluid.

Design Methodology

  • Ice water is used as the thermal fluid to maintain a low operating temperatures.
  • A cooling jacket insulates the calorimeter from convective losses to the atmosphere and provides a predictable boundary condition.
  • High-precision thermistors are used to measure temperatures witin 0.01 degrees Celsius.

Showing a cross-section and assembly view of the calorimeter.

Showing internal fluid channels underneath the radiation collector.

Construction

The fluid system use a single centrifugal pump to provide variable flow rates for both the cooling jacket and collector.

Cooling channels in the collector block were 5-axis machined out of aluminium.

An SLS 3D printed cooling jacket enshrouded 5 out of 6 sides of the collector for maximum insulation.

Quick hose disconnects and bubble vents allowed for rapid apparatus setup.

Fluid diagram representing the layout of valves, pumps, gauges, and reservoirs.

The water pump cart on the left, the calorimeter apparatus on the right.

Data Analysis

Multi-linear regression was used to separate out conductive and convective heat gains in order to find the final radiative heat value.

Model accounts for a total of 6 temperature measurements, 1 heat control, and 2 flow rate controls.

Developing the governing heat equation.

Visual representation of the calorimeter calibration procedure.

Flexure Stage for Optical Posts

Design Requirements

  • To alleviate one translational degree of freedom on a vacuum flange, but simultaneously constrain the other 5.
  • Withstand a vertical load of 100 N.
  • Compatible with optical breadboards and easy to install/adjust.

Design Approach

Applying the leaf flexure formula to calculate the total elasticity of the flexure as a function of length, width, and thickness.

The optimal dimensions were found by parameter searching over these discrete variables and checking with the machinists.

Showing the translational degree of compliance.

Poor approach: using a plastic jig in a bench vise to drill through individual springs.

Machining

The aluminium connectors were machined using the advanced cut-to-size-then-drill-some-holes fabrication technique. The leaf flexures on the other hand were the most labor intensive to machine. Spring steel is way less forgiving than aluminum when it comes to drilling holes.

Successful approach: using a mill and sacrificial material to drill through the spring steel.

Final Result

We discovered a minor issue where the thumb screws could not clamp down with enough force when hand tightened, but this was fixed by replacing them with socket head screws, and inserting grip washers in between the aluminum components.

The flexure stage attached to the vacuum flange and mounted on an optical table.